
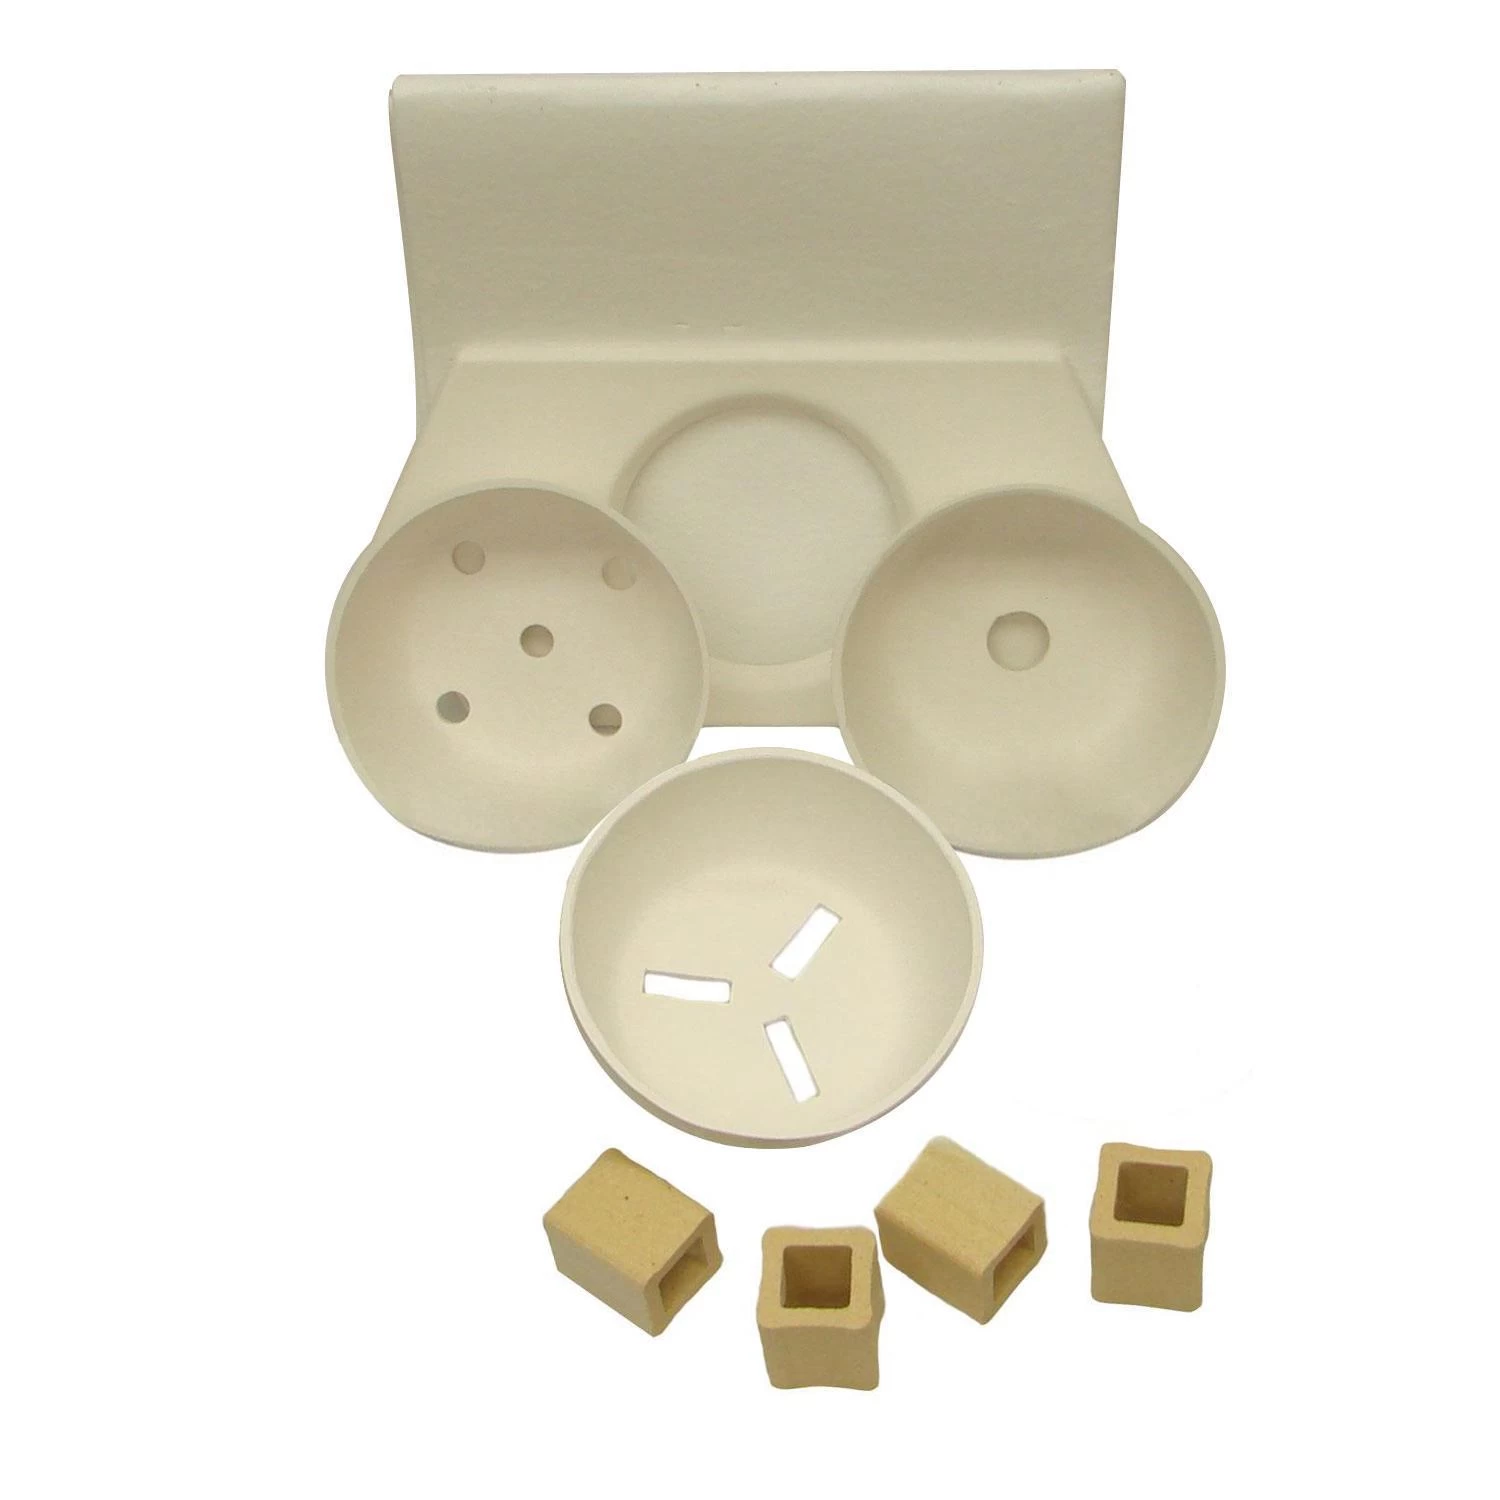


Deluxe Pot Melt Kit
Original price was: $109.95.$76.97Current price is: $76.97.
- Secure Payments, Secure Shopping
- Safe and Secure Shopping
- Shop with Peace of Mind
- Sustainable materials, for a better tomorrow.

Product Description
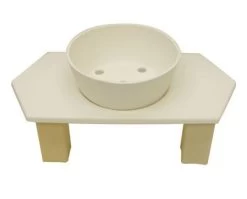
See how it works (images below):
1. Place 1/8″ fiber paper on level kiln shelf. Elevate pot melt support with kiln posts. Place pot melt mold in support.
2. Fill your mold with compatible fusible glass.
3. Fuse, making sure that your glass reaches the maximum temperature to enable the molten glass to flow out of the mold leaving behind as little glass as possible helping to prevent the mold from thermal shocking.
4. Display your one-of-a-kind pot melt creation, or continue creating by slumping, cold-working, or cutting up your pot melt to use in other fused projects.
Tips on Using Pot Melt Molds
- Work on a level kiln shelf.
- Do NOT kiln wash pot melt molds.
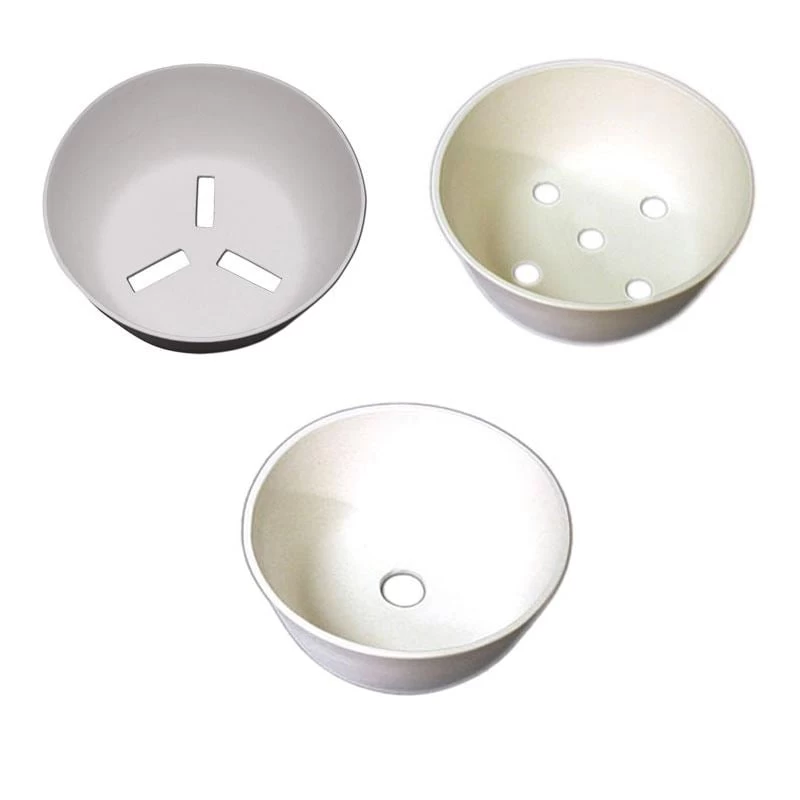
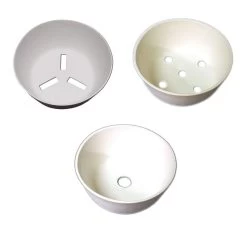
- Experiment using different slumping molds instead of kiln shelves to melt glass onto. The glass will take the shape and texture of the mold you choose.
- There is no way to get all of the glass out of the mold. However if you layer clear in the bottom first with your colors on top you’ll have less mixing of colors when you do a new project.
- Not intended for use in table top kilns.
Fused plate below created by Delphi artist Val Oswalt-De Waard using Pot Melt Mold #24692.
Product Features
- Create beautiful, one-of-a-kind glass
- Swirls of color add depth to any project
- Everything you need to create a variety of projects in one kit!
Be the first to review “Deluxe Pot Melt Kit”
Related products


Mosaic supplies


Mosaic embellishments


Mosaic supplies


Mosaic supplies
Mosaic supplies


Mosaic supplies


Mosaic supplies
Mosaic supplies
Reviews
There are no reviews yet.